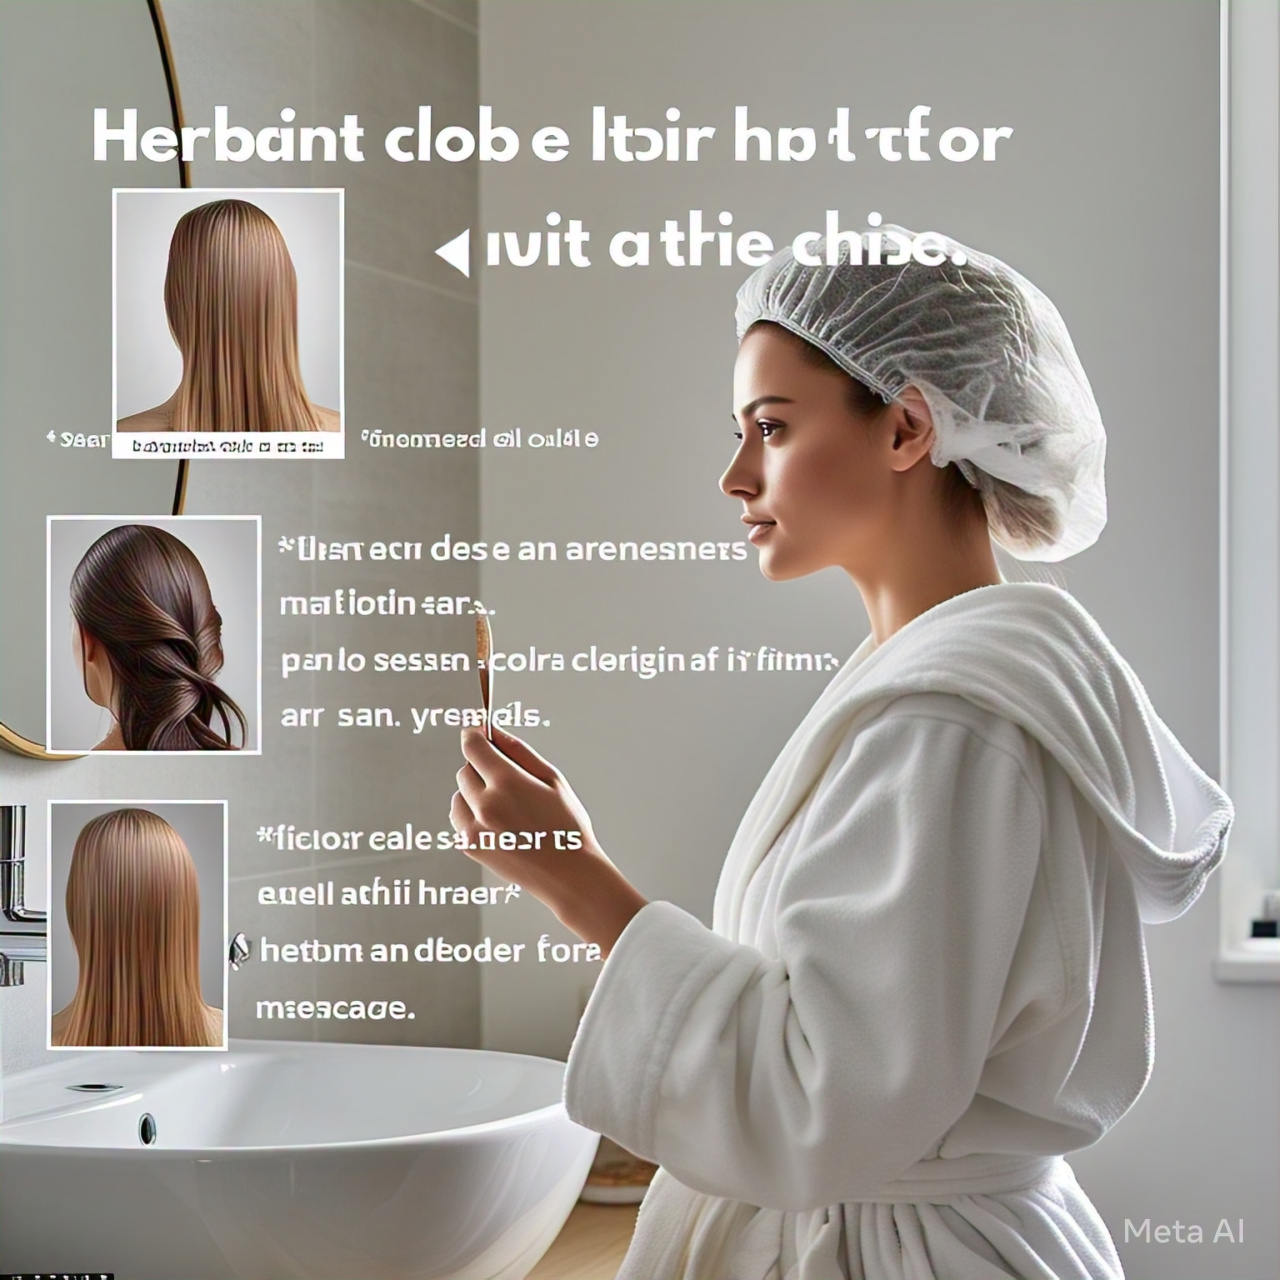
Step-by-Step Guide: How to Apply Herbatint Hair Color at Home
Herbatint Hair Color and Preparation
What Is Herbatint Hair Color?
Herbatint is a natural, ammonia-free hair dye that uses plant-based ingredients to provide long-lasting color while being gentle on the hair and scalp. Unlike traditional hair dyes, Herbatint avoids harsh chemicals, making it a preferred choice for individuals with sensitive skin or those looking for a more organic hair coloring solution. The formula is enriched with botanical extracts such as aloe vera, witch hazel, and rosemary, which help nourish the hair while delivering vibrant, even color.
Why Choose Herbatint for At-Home Hair Coloring?
Many people opt for Herbatint because it offers a safer alternative to conventional hair dyes. Since it does not contain ammonia, it minimizes damage, reduces irritation, and leaves hair feeling softer. Additionally, Herbatint provides full gray coverage and comes in a variety of shades, allowing users to achieve natural-looking or bold results depending on their preference. Applying Herbatint at home is convenient and cost-effective, provided the correct steps are followed.
Preparing for the Coloring Process
Before applying Herbatint, proper preparation ensures the best results. First, it is essential to perform a patch test at least 48 hours before coloring to check for allergic reactions. This involves applying a small amount of the mixed dye behind the ear or on the inner elbow and monitoring for redness or irritation.
Next, gather all necessary supplies:
- Herbatint permanent hair color kit (includes colorant, developer, conditioner, and instructions)
- Gloves to protect hands from staining
- An old towel or cape to prevent staining clothes
- A plastic or glass mixing bowl (avoid metal as it can react with the dye)
- A tint brush or applicator bottle for precise application
- Clips to section hair
- Petroleum jelly or a barrier cream to protect the hairline and ears
Washing hair 24 hours before coloring is recommended, as natural oils protect the scalp. However, avoid using heavy conditioners or styling products that may create a barrier between the hair and dye.
Selecting the Right Shade
Herbatint offers a wide range of shades, from natural blacks and browns to vibrant reds and blondes. When selecting a color, consider the current hair shade and desired result. For those covering gray hair, a shade close to their natural color often works best. Those looking for a dramatic change should consult the Herbatint shade chart and, if unsure, opt for a strand test to preview the color outcome.
By properly preparing and understanding the product, users can ensure a smooth and successful at-home coloring experience with Herbatint.
Mixing and Applying Herbatint Hair Color
How to Mix Herbatint Hair Dye Properly
The first step in the coloring process is mixing the dye correctly. Herbatint comes with two main components: the colorant and the developer. The developer activates the color, so precise measurements are crucial. The standard ratio is one part colorant to one part developer, but users should always refer to the instructions included in the kit.
To mix, pour the developer into a non-metallic bowl first, followed by the colorant. Stir gently but thoroughly until the mixture is smooth and free of lumps. The consistency should be creamy but not too thick. If the mixture appears too runny, it may not adhere properly to the hair. Once mixed, the dye should be used immediately, as it begins oxidizing and loses effectiveness over time.
Sectioning Hair for Even Application
Before applying the dye, hair should be divided into manageable sections. This ensures full coverage, especially for those with thick or long hair. Using clips, separate hair into four main sections: two in the front (from ear to ear) and two in the back. Each section can then be further divided into smaller subsections, about half an inch to an inch wide, depending on hair density.
Applying petroleum jelly along the hairline, ears, and neck prevents staining. Wearing gloves is essential to avoid dye contact with the skin.
Applying Herbatint from Roots to Ends
The application process starts at the roots, where hair is darkest and needs the most processing time. Using a tint brush or applicator bottle, apply the dye directly to the roots in thin, even layers. Once the roots are fully covered, work through the mid-lengths and ends.
For those with previously colored hair, applying dye to the roots first and then the lengths after 10-15 minutes prevents over-processing. Gray hair may require extra saturation, so ensuring each strand is fully coated is important.
After all sections are covered, gently massage the dye into the hair to ensure even distribution. Avoid piling hair on top of the head, as this can lead to uneven color. Instead, let it fall naturally.
Processing Time and Monitoring the Color
The processing time varies depending on the desired shade and natural hair color. Typically, Herbatint processes for 30-40 minutes. Those with resistant gray hair or seeking a darker result may leave it on for the full 40 minutes, while those with fine or light hair should check after 25-30 minutes to prevent over-darkening.
To monitor the color, wipe a small section with a damp cloth. If the shade is satisfactory, it’s time to rinse. If not, leave it for a few more minutes, checking frequently to avoid excessive processing.
Rinsing and Conditioning After Herbatint Application
The Importance of Proper Rinsing
Once the processing time is complete, the next crucial step is rinsing out the hair color thoroughly. Improper rinsing can lead to uneven color, residue buildup, and even scalp irritation. The goal is to remove all traces of the dye while maintaining the vibrancy of the newly applied shade.
To begin, use lukewarm water—not hot, as high temperatures can strip the color and dry out the hair. Gently massage the hair under the water stream, ensuring that the dye is completely washed out. The water should run clear before moving on to the next step. If any dye remains, it may continue to develop, leading to a darker or patchier result than intended.
Using the Herbatint Conditioner
Herbatint kits include a nourishing conditioner designed to seal the hair cuticle, lock in moisture, and enhance color longevity. After rinsing out the dye, excess water should be lightly squeezed from the hair before applying the conditioner.
The conditioner should be distributed evenly from mid-lengths to ends, avoiding the scalp if the hair tends to get oily quickly. Leaving it on for 2-3 minutes allows the moisturizing ingredients to penetrate the hair shaft, improving softness and shine. For those with very dry or damaged hair, leaving the conditioner on for an additional few minutes can provide extra hydration.
Once the conditioning step is complete, another quick rinse with cool water helps close the hair cuticles, adding shine and reducing frizz. Patting the hair dry with a towel—rather than rubbing—minimizes breakage and color fading.
Post-Color Hair Care Tips
To maintain the newly applied Herbatint color, certain aftercare practices should be followed. For the first 48 hours after coloring, it is best to avoid washing the hair, as this allows the color to fully set. When washing, sulfate-free shampoos designed for color-treated hair should be used, as they are gentler and prevent premature fading.
Heat styling tools such as flat irons and curling wands should be used sparingly, and always with a heat protectant spray. Excessive heat can cause color to dull and hair to become dry. Additionally, chlorine from swimming pools and prolonged sun exposure can strip hair color, so wearing a swim cap or applying UV-protectant hair products is recommended.
Regular deep conditioning treatments, preferably once a week, help maintain moisture balance and keep the hair looking vibrant. Natural oils such as argan or coconut oil can also be used as pre-wash treatments to nourish the hair without affecting the color.
What to Do If the Color Is Too Dark or Light
Sometimes, the final result may not match expectations. If the color turns out darker than desired, a clarifying shampoo can help gently fade the shade over a few washes. For those who find the color too light, a second application may be necessary, though waiting at least a week is advisable to prevent excessive damage.
In cases where the color appears uneven or patchy, a professional colorist can help correct the issue with a toner or glaze. However, minor discrepancies often blend naturally after a couple of shampoos.
By following these rinsing and conditioning steps carefully, users can ensure their Herbatint color remains fresh, vibrant, and long-lasting.
Troubleshooting and Maintaining Herbatint Hair Color
Common Herbatint Application Issues and Fixes
Even with careful application, some users may encounter challenges when coloring their hair at home. Understanding these common problems and knowing how to address them ensures better results in future applications.
Uneven Color or Patchy Results
Uneven coloring often occurs when the dye is not applied thoroughly or when sections of hair are missed. To fix this, a second application may be necessary, focusing only on the areas that appear lighter. Waiting at least a week before reapplying minimizes damage. For minor unevenness, a color-depositing conditioner in a matching shade can help blend discrepancies over time.
Color Fades Too Quickly
If Herbatint fades faster than expected, it could be due to frequent washing with harsh shampoos, excessive heat styling, or hard water exposure. Switching to sulfate-free, color-safe products and reducing heat tool usage can prolong vibrancy. A monthly gloss treatment or semi-permanent dye refresh can also help maintain the desired shade.
Scalp Irritation or Discomfort
Although Herbatint is gentler than traditional dyes, some individuals may still experience mild irritation. If redness or itching occurs during application, rinsing immediately with cool water is recommended. In future sessions, applying a thin layer of petroleum jelly along the hairline and scalp can create a protective barrier. Those with sensitive skin should always perform a patch test before full application.
How to Refresh Herbatint Color Between Applications
To extend the life of Herbatint color, several maintenance techniques can be employed.
Using Color-Safe Hair Products
Regular shampoos often contain sulfates that strip away color. Opting for sulfate-free formulas designed for color-treated hair helps preserve the dye. Additionally, cool water rinses prevent the hair cuticle from opening too much, which can lead to color loss.
DIY Color-Enhancing Treatments
Natural ingredients like henna or herbal rinses (such as chamomile for blondes or black tea for brunettes) can subtly enhance color between applications. However, these should be tested on a small strand first to ensure compatibility with Herbatint.
Avoiding Excessive Sun and Chlorine Exposure
UV rays and pool chemicals accelerate color fading. Wearing a hat outdoors and rinsing hair with fresh water before swimming can minimize damage. For added protection, leave-in conditioners with UV filters are beneficial.
When to Seek Professional Help
While Herbatint is designed for at-home use, certain situations may require a stylist’s expertise. If the hair becomes severely damaged from over-processing or if the desired shade is unachievable after multiple attempts, a professional can correct the issue with treatments like Olaplex or a customized color blend. Additionally, those making drastic changes (e.g., lightening dark hair multiple shades) should consult a salon to avoid unwanted brassiness or breakage.
Final Thoughts on At-Home Herbatint Application
Herbatint offers a safer, natural alternative to conventional hair dyes, delivering rich color while minimizing damage. By following the proper steps—preparation, application, rinsing, and maintenance—users can achieve salon-quality results at home. While challenges may arise, most are easily resolved with patience and the right techniques.
For best results, always adhere to the instructions included in the kit and perform strand tests before full application. With consistent care, Herbatint color can remain vibrant and healthy-looking for weeks.